

ResponsiveVoice Text To Speech

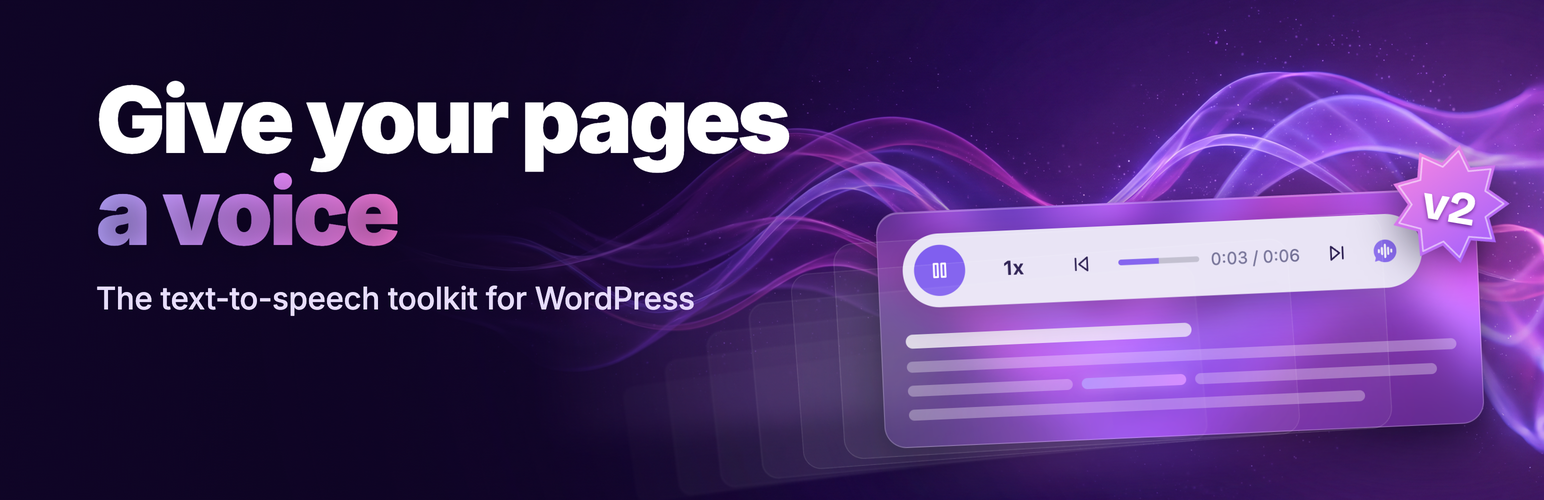
Read any page aloud with the WebPlayer.
ResponsiveVoice adds HTML5 text-to-speech to your WordPress posts and pages — with nothing extra to install, across all smartphone, tablet and desktop devices. Your readers can listen with a tap: add a Listen button through the Gutenberg block or a shortcode, or turn on the WebPlayer to read a whole post aloud.
It supports 51 languages through 158 voices out of the box — plus thousands of premium neural voices from major cloud providers (Google Cloud, Microsoft Azure, OpenAI and more) via bring-your-own-key on v2 accounts.
Languages include UK English, US English, Spanish, French, German, Italian, Greek, Hungarian, Turkish, Russian, Dutch, Swedish, Norwegian, Japanese, Korean, Chinese, Chinese (Hong Kong), Chinese Taiwan, Hindi, Serbian, Croatian, Bosnian, Romanian, Catalan, Australian, Finnish, Afrikaans, Albanian, Arabic, Armenian, Czech, Danish, Esperanto, Hatian Creole, Icelandic, Indonesian, Latin, Latvian, Macedonian, Moldavian, Montenegrin, Polish, Brazilian Portuguese, Portuguese, Serbo-Croatian, Slovak, Spanish Latin American, Swahili, Tamil, Thai, Vietnamese and Welsh.
Support and Questions visit here first:
Useful Links:
Features:
- Listen to any post or page with the tap of a button
- A Gutenberg “Listen” block with a live voice picker — plus shortcodes for the classic editor
- The WebPlayer: a customizable player that reads a whole post aloud (v2 accounts)
- 51 languages through 158 voices, plus thousands of premium neural voices via bring-your-own-key (v2)
- Easy access to your content for every visitor — tap to listen to any page or post
- A more accessible website for a range of users, including the visually impaired and the elderly
- Web Content Accessibility Guidelines (WCAG) 2.0, ADA and BS 8878:2010 features
Usage:
Add a Listen button with the block
In the block editor, insert the ResponsiveVoice Listen Button block wherever you want a Listen button. Pick a voice from the live list, adjust rate, pitch and volume, and preview it — all in the editor.
Turn on the WebPlayer (v2)
The WebPlayer is a ResponsiveVoice v2 feature that reads the whole post aloud — and the one ResponsiveVoice website feature you control right from WordPress. On a v2 account, open the ResponsiveVoice menu in your WordPress admin to enable or disable it and customise its appearance, position and behaviour, choose which content types show it, and override it per post. Your other ResponsiveVoice website features (such as the Welcome message that plays when a page loads) are configured in your ResponsiveVoice account dashboard.
Shortcodes (classic editor and back-compatible)
Add a Listen button anywhere in a post or page:
[responsivevoice_button]
Set the voice and the button label:
[responsivevoice_button voice=”US English Female” buttontext=”Play”]
Read just a section by wrapping it:
[responsivevoice]Text you want ResponsiveVoice to read[/responsivevoice]
Place the button after the text (it appears before by default):
[responsivevoice buttonposition=”after”]Text you want ResponsiveVoice to read[/responsivevoice]
Adjust rate, pitch and volume:
[responsivevoice_button rate=”1″ pitch=”1.2″ volume=”0.8″ voice=”US English Female” buttontext=”Play”]
Leave the voice unset to use your account’s default voice. A full list of voice names is in the Documentation.
Your API key
Create a free account and add your API key from the ResponsiveVoice admin menu to unlock the full voice catalogue and the WebPlayer. Without a key, the plugin runs in demo mode so you can try it first.
For more details, please see the Documentation
Requirements
ResponsiveVoice runs in your visitors’ browsers, so there is nothing to install or configure on your server. It works in modern browsers across desktop and mobile.
External services
This plugin relies on the ResponsiveVoice service to synthesize speech, so text and your API key are sent to it from visitors’ browsers.
- The ResponsiveVoice library/SDK is loaded from
code.responsivevoice.org/cdn.responsivevoice.org, or, in “bundled” delivery mode, served from your own site. - When a visitor plays audio, the text to read and your site’s API key (a public website identifier, not a secret) are sent to the ResponsiveVoice Text-To-Speech API to generate audio.
- The visitor’s browser reads your site’s ResponsiveVoice configuration — your account’s website feature settings — from
texttospeech.responsivevoice.org, so those features work on your site. - When the ResponsiveVoice SDK plays audio (the WebPlayer, buttons or shortcodes), it reports the number of characters spoken to
app.responsivevoice.org. This is a single number for usage accounting: no personal or user information, and not the spoken text, is sent. It is required so your account’s API usage is attributed correctly.
Terms of Service: https://responsivevoice.org/terms/
Privacy Policy: https://responsivevoice.org/privacy-policy/