


BBA Custom Types
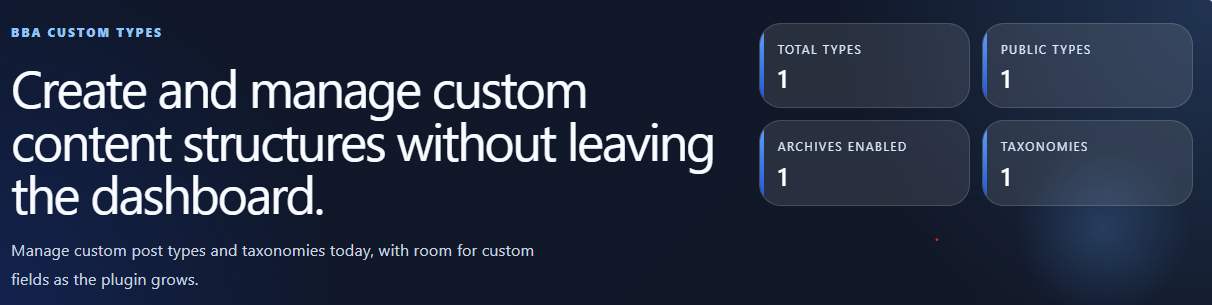
BBA Custom Types dashboard overview.
BBA Custom Types lets site owners create and manage custom post types, taxonomies, and custom field groups without editing theme files or writing registration code.
Use it when your site needs structured content beyond posts and pages: projects, testimonials, events, resources, product collections, locations, or any other content model. The plugin gives you a clear admin workflow while keeping WordPress registration keys, rewrite bases, taxonomy relationships, and postmeta fields visible and controllable.
What you can do
- Create and manage custom post types and taxonomies from a unified dashboard.
- Create and organize custom field groups attached to custom post types, native posts, or pages via the Field Groups submenu.
- Support for custom field types: Text, Textarea, Number, Email, URL, Date, Select (dropdown), Radio buttons, Single Checkbox, Checkbox Group (multi-select), Image (Media Library), WYSIWYG (Rich Text), and Repeater (Single-Field and Multi-Field).
- Build Repeaters with draggable reordering, collapsible cards, minimum/maximum row bounds, initial row counts, and rich Image and WYSIWYG subfields.
- Configure functional field options: Defaults, Required validation, and Show in REST API exposure.
- Seamless editing experience in both Gutenberg (Block Editor) and the Classic Editor.
- Scoped transactional persistence under Gutenberg REST updates: ScopedTransactionCoordinator coordinates single-request REST post updates and exact-row custom field persistence with InnoDB row locking (
FOR UPDATE) and automatic rollbacks on error for qualified post saves. - Set singular and plural labels, public URL slugs, and frontend rewrite bases for custom post types.
- Choose supported post features, including title, editor, excerpt, featured image, author, comments, revisions, custom fields, and page attributes.
- Configure taxonomy visibility, hierarchy, REST API support, and attached post types.
- Receive inline validation for duplicate or invalid slugs, keys, and field options before settings are saved.
- Drag-and-drop field reordering and collapsible field builder cards in the admin dashboard.
How it works
BBA Custom Types stores your definitions in WordPress options and registers them using core WordPress APIs. Generated internal keys such as bbact_project identify content types in the database and remain stable across edits. Public URLs can be adjusted independently with the Frontend URL base setting.
Custom fields are saved directly to native WordPress postmeta with exact-row ownership and bounded tombstones to protect historical data integrity.
The plugin is dependency-free at runtime, does not send data to external services, and does not require an account.
Getting Started
Create a custom post type
- Go to BBA Custom Types and select New Custom Post Type.
- Enter a singular name, for example
Project. The plugin fills related labels for you; you can adjust any of them before saving. - Review the URL slug. This is used to generate the internal key on the first save.
- Optionally set a different Frontend URL base. For example, leave the key based on
projectbut useprojectsfor public URLs. - Configure public visibility, archive support, REST API support, menu position, and supported post features.
- Save the custom post type, then use its new menu in WordPress admin to add content.
Create a taxonomy
- Select New taxonomy from the BBA Custom Types dashboard.
- Enter a singular name, for example
Project Type. - Choose whether it is hierarchical. Hierarchical taxonomies behave like categories; non-hierarchical ones behave like tags.
- Select the custom post types that should use this taxonomy.
- Save the taxonomy. The new taxonomy appears with the selected post types immediately.
Create a custom field group
- In WordPress admin, navigate to BBA Custom Types > Field Groups (or the Field Groups submenu).
- Click the New Field Group button (or Create Field Group if no groups exist yet) in the toolbar to open the full-screen modal field group editor.
- Enter a group title and select the target post types (custom post types, Posts, or Pages).
- Configure group position context (Normal, Side, Advanced), priority, order, and optional instructions.
- In the Fields section, click + Add Field to add dynamic field rows.
- For each field, configure label, field key, field type (from 13 available types including Image, WYSIWYG, and Repeater), placeholder, default value, required toggle, and REST API exposure. Choice-based fields (Select, Radio, Checkbox Group) include a Choices list.
- Click Save Field Group in the modal footer. The modal remains open with in-flight state protections, syncing the assigned group ID and revision token without full page reload.
- Fields render immediately in post edit screens for assigned post types.
- For comprehensive documentation, see the Custom Fields User Guide.
Display custom fields in PHP and Gutenberg
After creating a Field Group and adding values to a post, you can display those values in a theme or plugin using the global PHP helper, or in post content using the [bcf] shortcode.
PHP template example (field key: client_name):
`php
$client = bcf_get( ‘client_name’ );
if ( null !== $client ) {
echo esc_html( (string) $client );
}
$website = bcf_get( ‘project_website’, 123 );
if ( $website ) {
echo ‘Visit website‘;
}
`
bcf_get( 'field_name', $post_id ) returns raw typed PHP data, not HTML. The optional post ID defaults to the current post context. Use WordPress escaping appropriate to your output context (for example `esc_html()` for text or `esc_url()` for links).
Gutenberg Shortcode block example:
- In BBA Custom Types > Field Groups, edit the field you want to display.
- Enable Allow in Shortcodes for that field and save the group. This setting is off by default.
-
Edit a published post or page, insert the native Shortcode block, and paste one of these:
text

[bcf field="client_name"]

[bcf field="client_name" post_id="123"]

[bcf field="services_offered" separator=", "]

[bcf field="hero_image" size="large" class="img-responsive" alt="Project Hero"]

[bcf field="company_overview"]
The shortcode renders context-safe output: plain text for scalar fields, an <img> element for image fields (size, class, and alt attributes supported), and filtered rich-text (wpautop() + wp_kses_post()) for WYSIWYG fields. It only displays opted-in fields on publicly viewable, non-password-protected posts; invalid IDs and inaccessible content produce no output. Fields with multiple choices are joined using the optional separator. Repeater fields fail closed and return an empty string to prevent broken markup; repeaters must be rendered via PHP template iteration with bcf_get(). Unlike the shortcode, the PHP helper returns raw typed data for developers to handle with their own access and escaping logic.
For detailed examples, supported field return types, default behavior, and security restrictions, see the Custom Fields User Guide.
Change a public URL base safely
Once a post type has been saved and contains posts, its internal database key is permanently locked and protected against alteration. To change the public URL path without affecting existing posts or the internal key, edit the Frontend URL base setting. Do not attempt to re-key existing content types.
After changing a rewrite base, go to Settings > Permalinks and select Save Changes once to refresh WordPress rewrite rules.